The front rack position can be very uncomfortable for many athletes, whether during a clean, front squat, or receiving a shoulder press. Part 1 detailed mobility drills to improve the specific areas needed for a solid front rack. I’m a firm believer that this is only part of the story. While performing specific mobility drills are without a doubt beneficial, the best way to adapt and improve a position is to spend time in the position, under load.
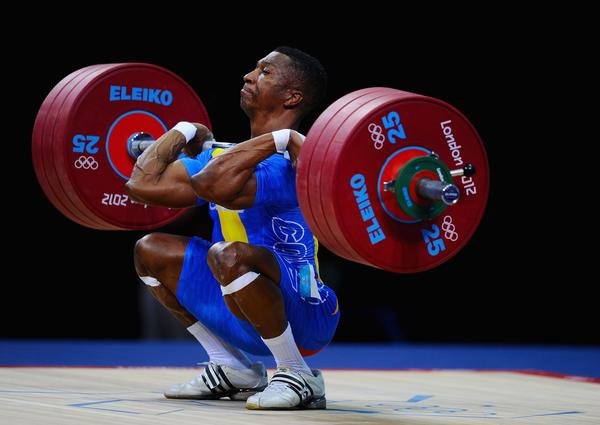
When cold, using just an empty barbell, the front rack can be difficult. The bar will sit on the clavicle/ shoulders or even off the clavicle/ shoulders, and the elbows will barely be in front of the bar. In this position if you were to go into a front squat, you would likely dip forward significantly, or even lose the bar forward.
We’ve all been there where we catch a clean and we need to try 2 or 3 times to “hop” the bar up and try to get our hands under it. Then you think to yourself – “I have to jerk this thing?” No way is that gonna happen.
The solution sounds easy, right? – just drive the elbows up. But for whatever reason, athletes are just unable to do that. And if they force the positioning, either the bar comes off the shoulders, the bar jams into their throat, or they start doing the ole T-rex front rack where you lose your fingers.
So what do we do? Regardless of where you are – whether novice or more seasoned athlete – we always want to first recommend you start with your full hand around the bar as best as you can. Now this doesn’t mean that you start with your whole hand and as you transition your fingers start to slide off and your back into the T-rex grip. Full hand means full hand.
My favorite front rack mobility drill is the front rack itself. I like to add load to the bar, finagle your way into it, and practice this way. Here is step by step what to do:
Step 1: Set up a loaded bar, minimum #155 for men and ladies, at normal rack height.
Step 2: Grab the bar with both hands, thumb and all.
Step 3: Drop a level, and almost a quarter squat (so bar is at forehead height) and step forward
Step 4: Use the roll of the bar to drive your elbows forward first (parallel with the floor). In this position you are below the bar and your elbows are where they need to be.
Step 5: Now, slowly drive your body up to meet the bar, striving to keep your elbows where they are
Step 6: Go as high as you can (goal is for bar to hit the shoulders) and hang there. If you don’t make it to the bar, take a big exhale, and drive elbows forward, and stand up further
- If you cannot get the bar to the shoulders without losing full grip or losing your elbow height, go as high as you can, and hold there. Go to where you feel things winding up and hold (most athletes have the shoulder flexion to get there, is the added component of external rotation that is the issue)
- Take deep breaths and on each exhale, try to drive the elbows forward and up
- Perform 4-5 breaths at a time, take a break
- You’ll notice your body almost ‘melting’ into the front rack position as you accumulate reps
- Spend 5 minutes doing this 3-4 times per week for several weeks and you’ll start to notice a resemblance of a front rack and some permanent changes
- Work towards driving fully up with the legs and de-rack the weight without losing elbow height or the full hand grip
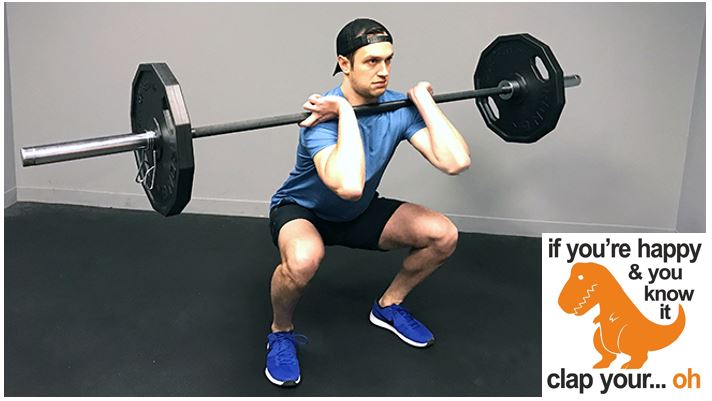
It’s also very important to talk about that upper back position. In the front squat and the clean, its very important to be able to stack the pelvis and the rib cage in the upright position. Upper back positioning can be improving by working on getting your hips in front of you and practicing standing tall. Its less about gaining a crazy amount of extension, but more about being able to resist flexion. Most of us have the extension necessary unloaded, however under load, we collapse. Check out this thoracic spine exercise below – it serves as a great drill to improve thoracic positioning during the front squat and teaches the body positional awareness.
Perform sets of 4-5 reps, holding for 10 seconds. With the plate on the top work on exhaling and keeping the elbows tight. The goal is to exaggerate the position you want.
Make sure to where lifters at first, or even lifters + change plates if this is a struggle for you. Yes, the plates act as a crutch, but if your front rack looks like the hunch back of Notre Dam, then you need a little help. The goal is to decrease the heel lift as your ability to perform this exercise improves.
What’s important to recognize is that the mobility work is great, however these should not take the place of specific positional mobility or actual front rack mobility practice. These will have much more carry over because it’s actually in the restricted position. You want to be active and expose the body to the position that’s restricted. I definitely recommend adding in the mobility drills from part 1 either before or even during your front rack positional work, however they shouldn’t take the place of the actual loaded front rack position. Very important!
If you’re an athlete in Charlotte and need help with your front rack position or have pain associated with it, you need a practitioner that knows the athlete and knows the language. Click here for Part 1. And Click here to learn more about working with us so we can get you moving down the right path fast!
Thanks for reading,
-Dr. Andrew
Credit: Quinn Henoch and Juggernaut Training Systems